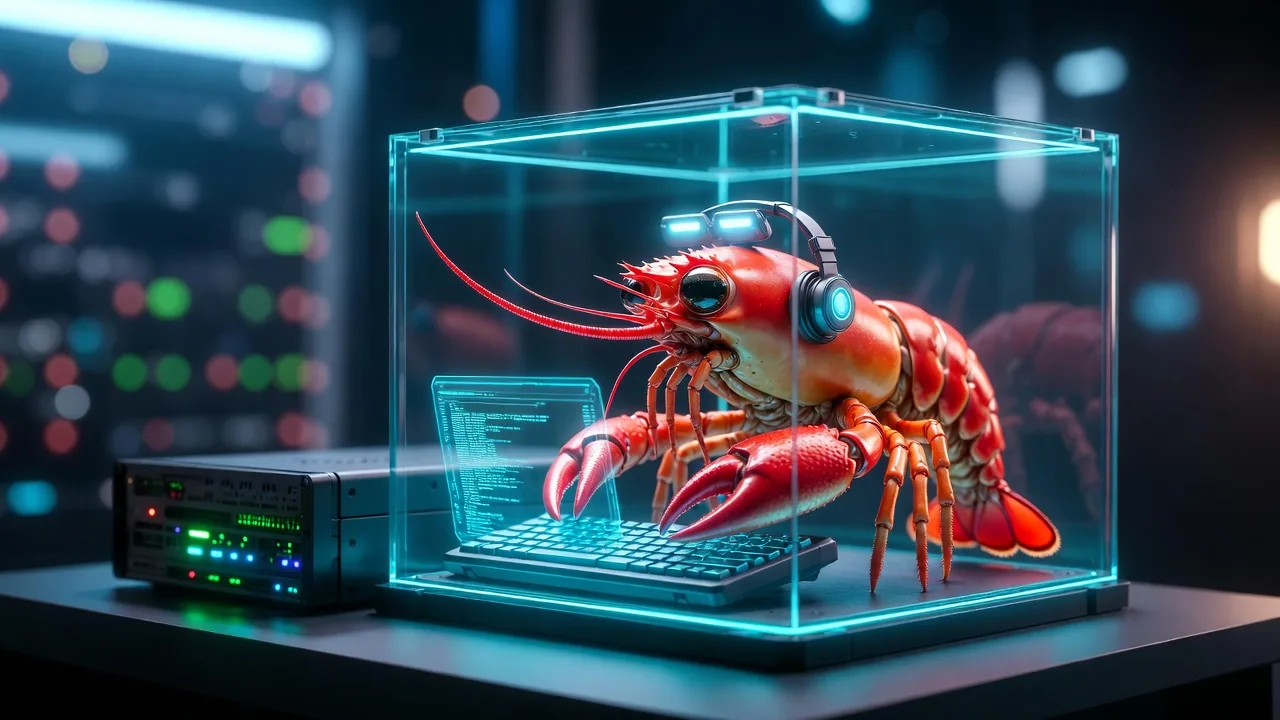
Openclaw is currently a hot topic in tech circles, representing what many consider to be the next logical move in AI development. When OpenAI first introduced ChatGPT, it brought general AI capability to the public, but Openclaw takes this a step further toward Agentic AI. While it isn’t quite a mass-market product for the general public yet, it clearly defines the direction the industry is heading.
I was waiting and hesitating to jump in because of significant concerns regarding security and the potential for high token usage, as mentioned by others. These hurdles made me pause until I finally jumped in with a sustainable path forward: hosting Openclaw in a Docker container and pairing it with Ollama.
This setup creates a contained environment where local models can operate freely without the fear of “burning” through expensive API tokens. Although a downgraded experience is expected.
Although official documentation and various articles exist, I found that several critical steps were missing or glossed over, so I am sharing my experience to help others bridge those gaps.
The Strategy: Why Docker and Self‑Hosted?
A core principle of my setup was viewing the AI not just as a tool, but as a separate individual over which I do not have absolute, direct control—much like a human personal assistant. A real assistant takes orders and instructions but maintains their own thinking and may act in ways that differ from your exact expectations.
To support this philosophy, I decided not to share my primary computer or personal resources with the assistant. Ideally, I would have used a spare machine, but I have no intention of making such a heavy investment yet. Docker became the best alternative for creating an isolated home for my assistant.
Furthermore, my setup was driven by cost and privacy. I currently do not have any AI model subscriptions and have no immediate plans to acquire one. Given that there is “no such thing as a free lunch” regarding API access to powerful models, local models via Ollama were the only logical choice. In keeping with the “separate individual” theme, the assistant operates with its own dedicated email and service accounts rather than piggybacking on my personal credentials.
Navigating the Setup Maze

While official Openclaw documentation is available, the default setup is native installation, and the Docker installation documentation is less than perfect.
Moreover, it is expected to use other AI chatbots to guide through the installation process, while one might expect AI chatbots to be the perfect guide for this, I found them to be somewhat unreliable. AI chatbots are generally good at basic setups but poor at troubleshooting. In my experience, both Gemini and ChatGPT frequently provided “thoughtfully incorrect” suggestions.
Success ultimately required a combination of official documents, manual web crawling, and human intelligence.
Download and Build
The first hurdle was surprisingly simple: finding the software. Interestingly, the official documentation lacked a direct git repository link, and I actually had to ask an AI chatbot where to find it. Perhaps many may already know the official git repository is at https://github.com/openclaw/openclaw. Rather than cloning the official repository directly, I chose to fork it to my own account first. This allowed me to make necessary customisations—such as adding environment variables for keys/passwords or mapping Docker volumes—and check those changes into my own version.
The docker-setup.sh script handled the initial image build and onboarding process smoothly. However, the Text User Interface (TUI) for onboarding has a few quirks. Because I planned to use Ollama—which was not in the default provider list—the system still demanded model specifications. Since I hadn’t selected a provider from the list, I keyed the expected model “ollama/gpt-oss:latest” to keep the process moving.
Once the onboarding was complete, the process appeared to stall. This can be confusing and lead users to believe something has gone wrong, but it is actually just the openclaw-cli service finishing its work; killing the process at this point is perfectly fine. Another critical difference from a native installation is that the openclaw-gateway Docker service does not start automatically. I need to manually run docker compose up to bring the gateway online, after which I can retrieve the dashboard link and access token using the openclaw dashboard command.
Troubleshooting: Access and Pairing
The most immediate issue users face is often dashboard access. During onboarding, a gateway token is generated and stored in two places: the .env file in the repo root and the openclaw.json file in the ~/.openclaw folder. Unfortunately, these tokens are often different, which prevents the dashboard from working. I must manually sync them by choosing one to replace the other. Restart the gateway, and I can just run the dashboard command again to get an updated link.
A major security feature of Openclaw is pairing, which requires manual approval for all connectivity. In a Docker environment, I found that the openclaw-cli service struggled to connect to the openclaw-gateway. This is because they are two distinct services that do not naturally communicate. The initial onboarding worked because it only dealt with local files, but real-time interaction requires a connection to the gateway.
I also encountered a confusing configuration where “loopback” and “lan” were used as bind options in openclaw.json and .env, respectively. Changing these manually didn’t resolve the connection issues. The most effective solution was to run commands directly through the gateway service rather than the CLI service. Since they share the same Docker image and code, this ensures local connectivity. To make this seamless, I created an alias that mimics a native installation:
alias openclaw='docker compose -f ~/openclaw/docker-compose.yml exec openclaw-gateway node dist/index.js'
The Ollama Connection and the “Stupid” AI
The official Ollama setup guides typically assume a native Openclaw installation. When running Openclaw in Docker with Ollama on the host machine, the Ollama server acts as a remote server to the container. Consequently, the endpoint must be set to http://host.docker.internal:11434/v1 instead of localhost. Furthermore, because it is a remote connection, model discovery is unavailable, meaning I must manually configure my models in openclaw.json.
Even after establishing a connection, I encountered a phase where the assistant seemed “super-stupid”. During the bootstrap process, it was supposed to engage in a conversation to name itself and identify me, but this data was never saved to the IDENTITY.md or USER.md files. The assistant would fail to list workspace content or open files, often returning random answers or raw JSON instructions instead of performing the task. Interestingly, when I switched to cloud-based Ollama models, everything worked perfectly.
The culprit turned out to be the context length. My local Ollama had a default context length of 4K, which is far too small for Openclaw to reason effectively. Cloud models worked because they use the maximum context length by default. While the Openclaw docs don’t mention this, the Ollama website suggests at least 64K tokens. My assistant only became functional after I pushed the context length up to 200K.

Final Experience: From Chat to Work
The transition to a local model was essential for long-term use. When testing with cloud models, I exhausted my entire quota under my free account in just two days. While local models are admittedly slower, they provide a sustainable, unlimited environment for the assistant to operate.
The actual usage experience has been transformative, moving from simple chat to actual work. This blog post was written with the help of Openclaw, providing a true co-authoring experience that eliminates the constant copying and pasting required by standard chatbots. The assistant is genuinely capable of performing autonomous tasks once the proper groundwork is laid.
To set the stage, I created a dedicated mailbox and registered a unique GitHub account for the assistant. I then created an Openclaw workspace repository under my own account and added the assistant’s GitHub account as a collaborator. From there, I was able to instruct the assistant to generate its own SSH keys. I then manually updated those SSH keys to GitHub as a human, providing the necessary bridge for the assistant’s security. Once that was complete, the assistant was able to commit and push changes to the repository by itself under my instructions.
Key Takeaways for Success:
- Docker vs. Native: Remember that Docker is an isolated environment; official native instructions will often require networking adjustments.
- Context is King: Ensure the local model has a high enough context length (at least 64K, preferably more) to handle the agent’s reasoning requirements.
- Critical Thinking: AI chatbots are helpful, but they can “bullshit seriously” when it comes to technical troubleshooting. Always verify with manual research.
- Independence: For the best results, treat the AI as a separate individual with its own dedicated accounts and resources.
Leave a Reply